If you're a blogger who wants to use a custom domain name for your blog, connecting your domain to your Blogger account is a straightforward process. Follow these steps to get started:
Step 1: Choose a domain name
Before you can connect your custom domain to your Blogger account, you need to have a domain name. You can purchase a domain name from Us. Choose a domain name that is relevant to your blog's topic and easy to remember.
Step 2: Log in to your Blogger account
Log in to your Blogger account using your email address and password. If you don't have a Blogger account yet, you can create one for free by going to Blogger.com and clicking on the "Create Your Blog" button.
Step 3: Go to Settings
Once you're logged in to your Blogger account, go to the "Settings" tab on the left-hand side of the page.
Step 4: Click on "Basic"
Under the "Settings" tab, click on "Basic" to access the basic settings for your blog.
Step 5: Click on "+ Setup a 3rd party URL for your blog"
Under the "Publishing" section, click on the "+ Setup a 3rd party URL for your blog" link.
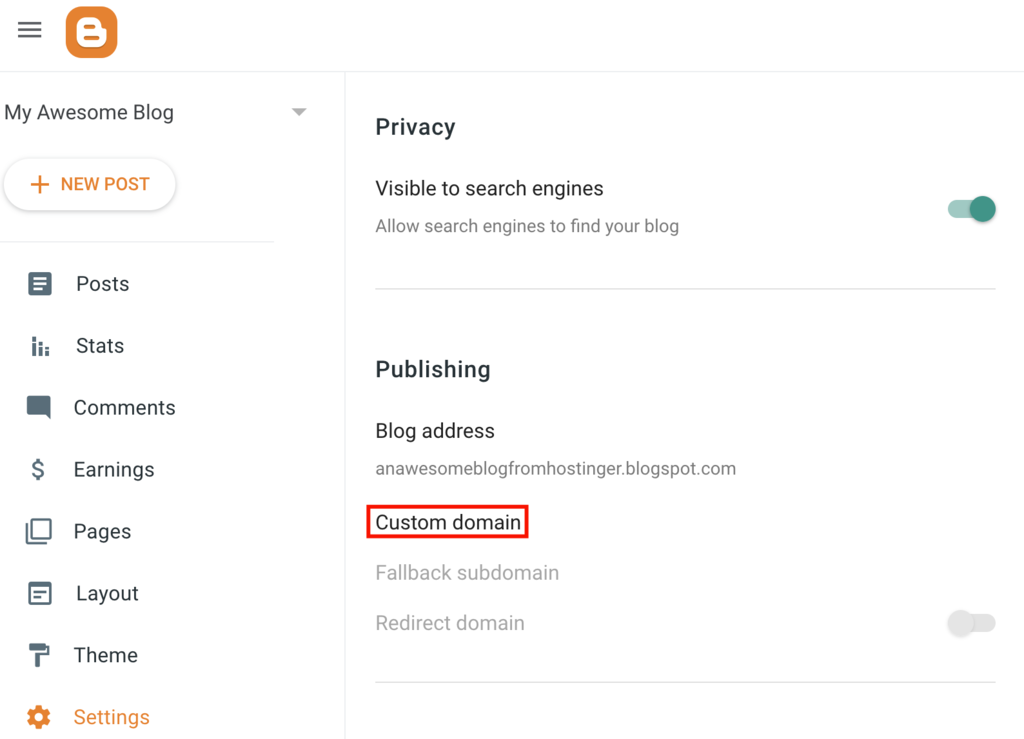
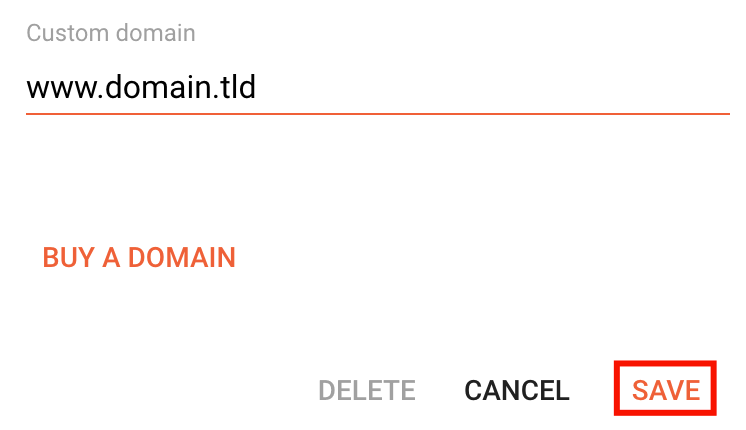
Step 6: Enter your custom domain name
Enter the custom domain name that you purchased in the "Third-party domain settings" section.
Step 7: Configure your DNS settings
After you've entered your custom domain name, you'll need to configure your DNS settings. This is done through The PowerHost's Dns Manager. You'll need to create two CNAME records and four A records. The CNAME records should point to ghs.google.com, and the A records should point to the IP addresses provided by Blogger. Here's an example of how to configure the DNS settings using Google Domains:
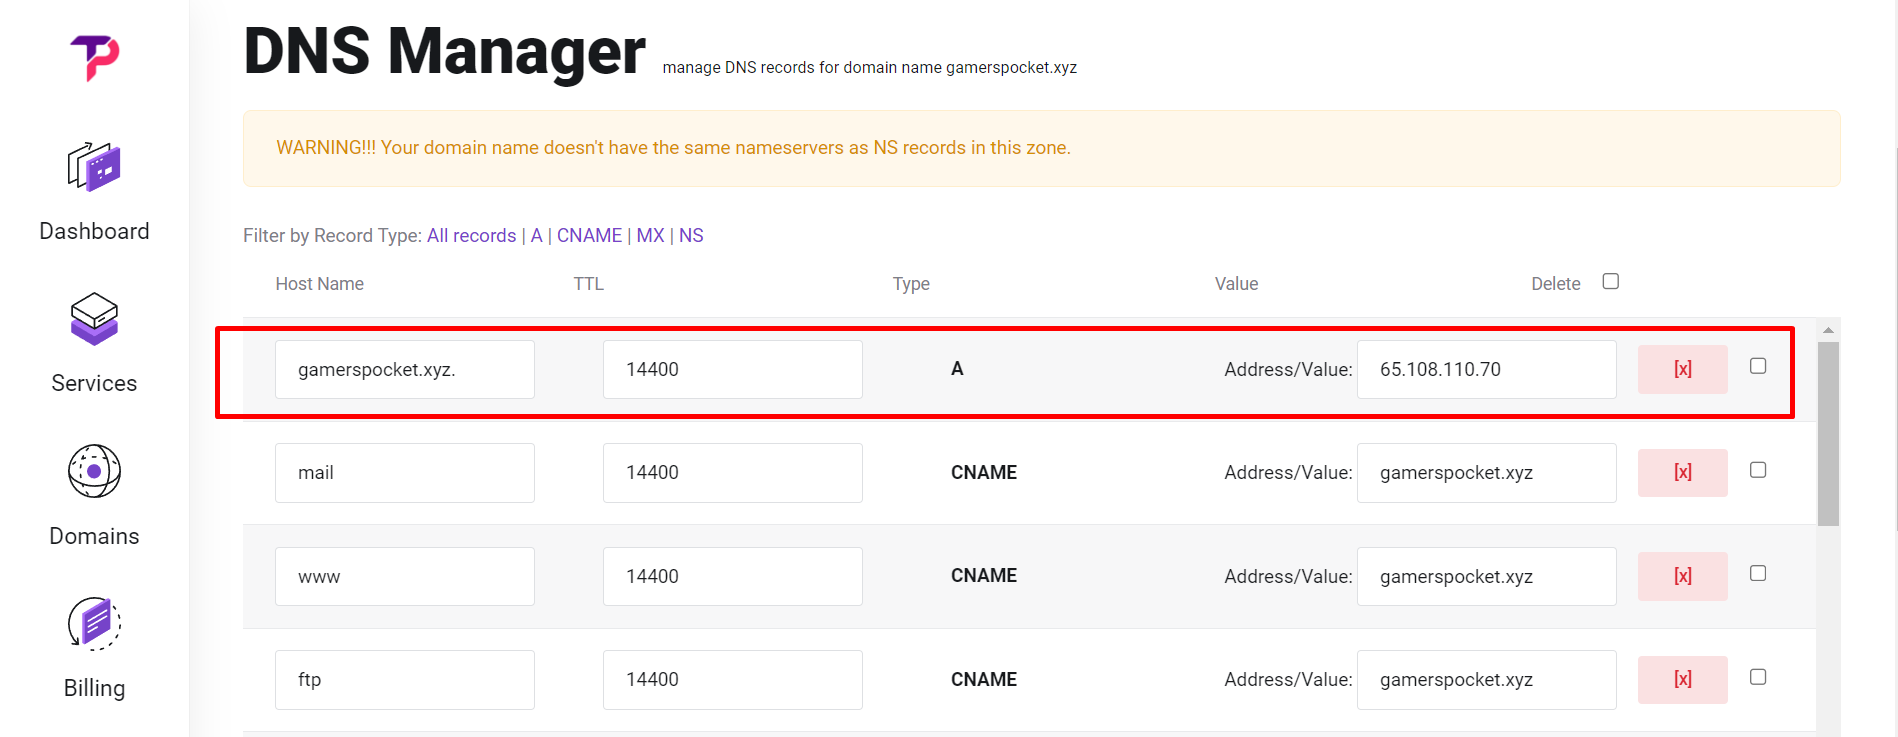
- Sign in to your PowerHost account.
- Click on the domain Tab.
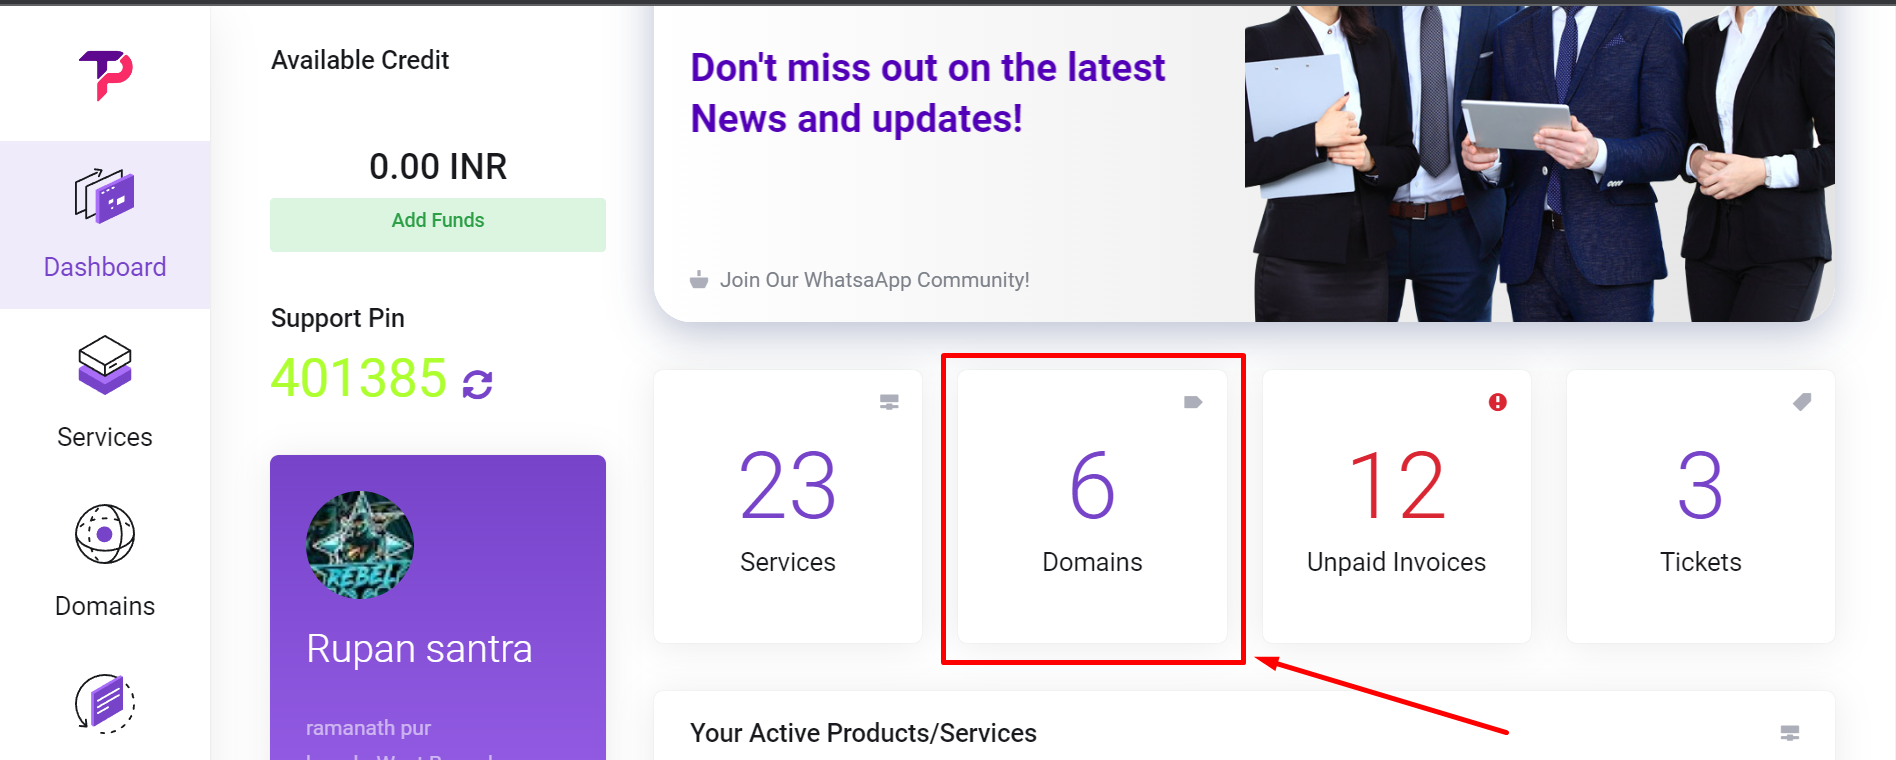
- Chose Your Domain Name And then click dns manager.
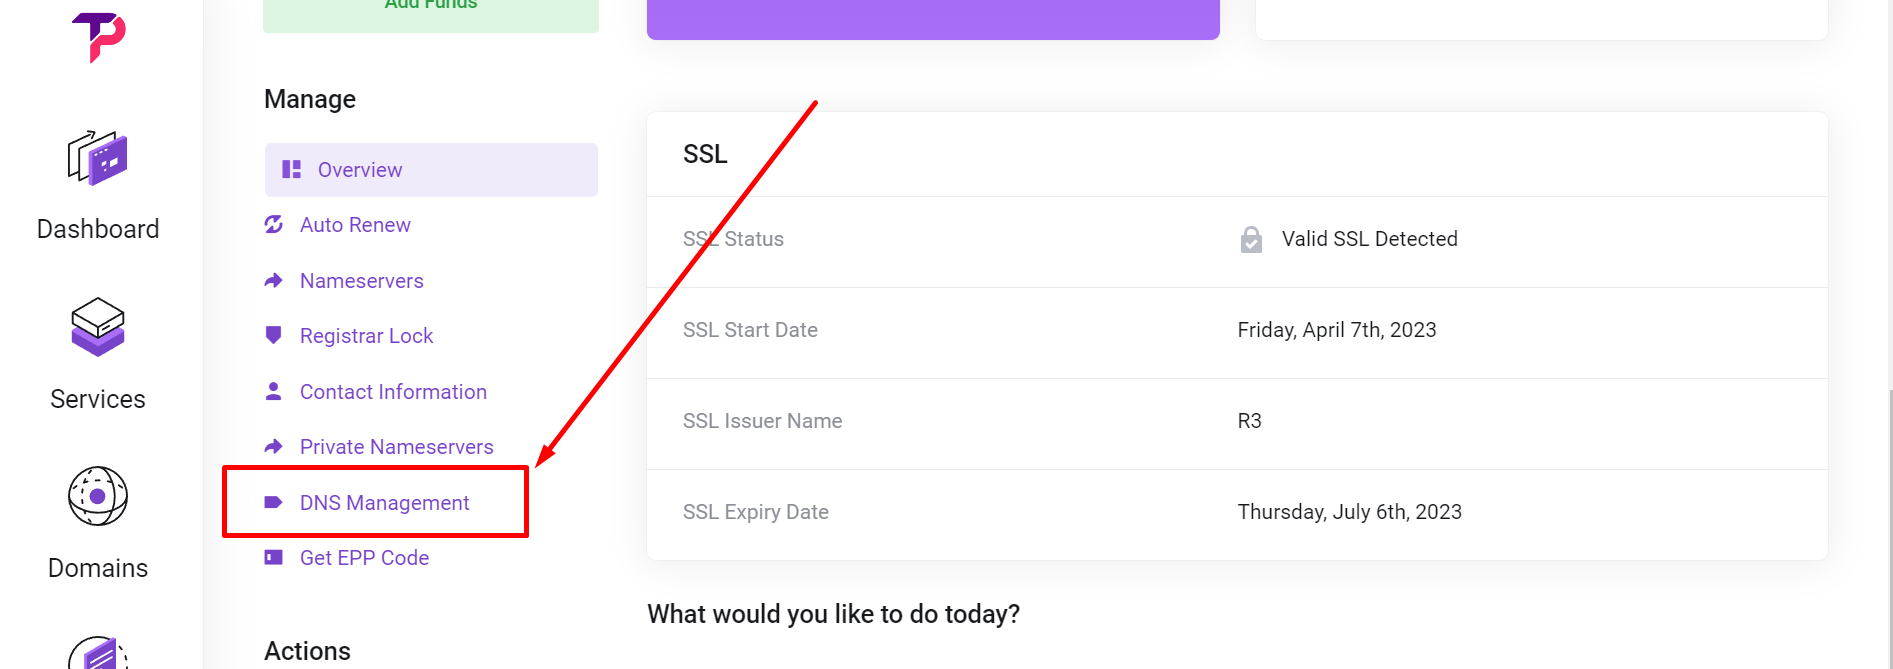
- Under the "Dns Manager" section, Delete the default "A" And "CNAME" Record By Clicking "❌".
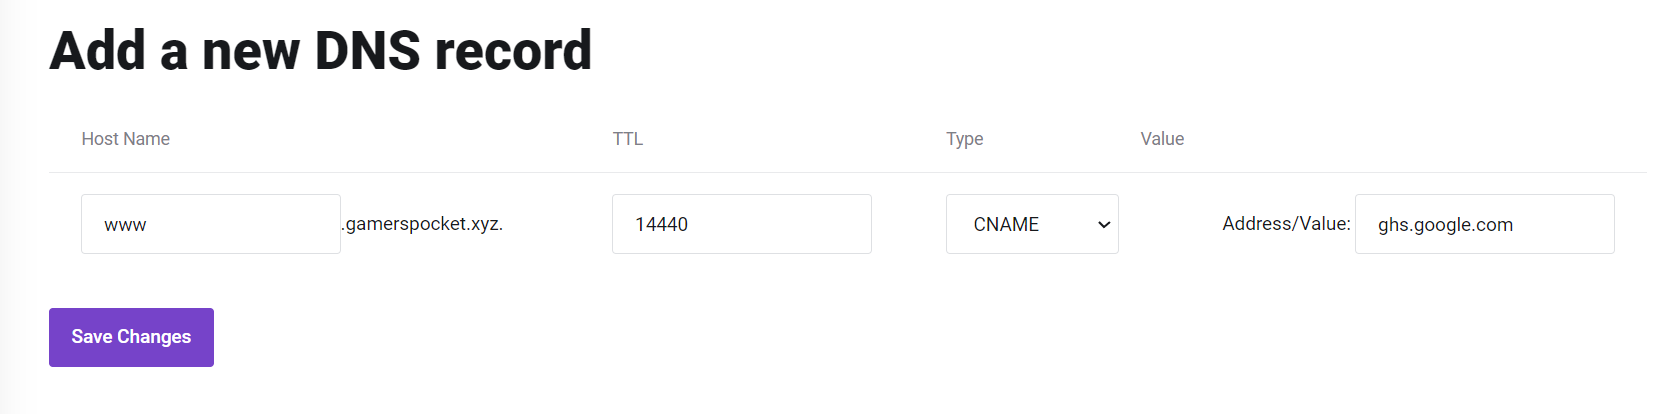
- Go to "Add a new DNS record " Section And Enter "www" in the "Name" field.
- Select "CNAME" from the "Type" drop-down menu.
- Enter "ghs.google.com" in the "Data" field.
- Click on the "Save changes" button to save the record.
- Repeat the above steps to create another CNAME record with the name "gj5okxlre5cl".
Next, create four A records with the following information:
- 216.239.32.21
- 216.239.34.21
- 216.239.36.21
- 216.239.38.21
Once you've configured your DNS settings, click on the "Save" button.
Step 8: Verify ownership of your domain
After you've configured your DNS settings, you'll need to verify ownership of your domain on Blogger. This is done by adding a TXT record to your domain's DNS settings. The TXT record should contain a verification code that is provided by Blogger.
Step 9: Save your settings
